Hand Eye Calibration
Contents
Hand Eye Calibration#
Here we explain how hand-eye calibration is done in
deoxys_vision. The calibration part needs to accompany our robot
infra package gprs, and the apriltag package (pupil-apriltags for
python binding).
This approach is heavily based on the calibrateHandEye method in
OpenCV.
AprilTag Detection#
AprilTag detection is a crucial part for camera extrinsics calibration. While other markers are also applicable, we haven’t developed that part yet.
The detection is done by AprilTagDetector class, which is
essentially a wrapper over functions from pupil-arpiltags. You first
create an object of the class:
april_detector = AprilTagDetector()
Then given an image (img) and its intrinsics (intrinsics), along with the measured side
length (tag_size), we can obtain the detection_result:
detect_result = april_detector.detect(img, intrinsics=intrinsics, tag_size=tag_size)
detect_result is a list of detected results. In our case, we are
only interested in using one tag, so make sure the detection contains
only one tag!
Then the pose of the tag in the camera frame can be obtained through
pose_R and pose_t of each detection. If the estimation result does
not seem reasonable, it might be due to wrong intrinsics value.
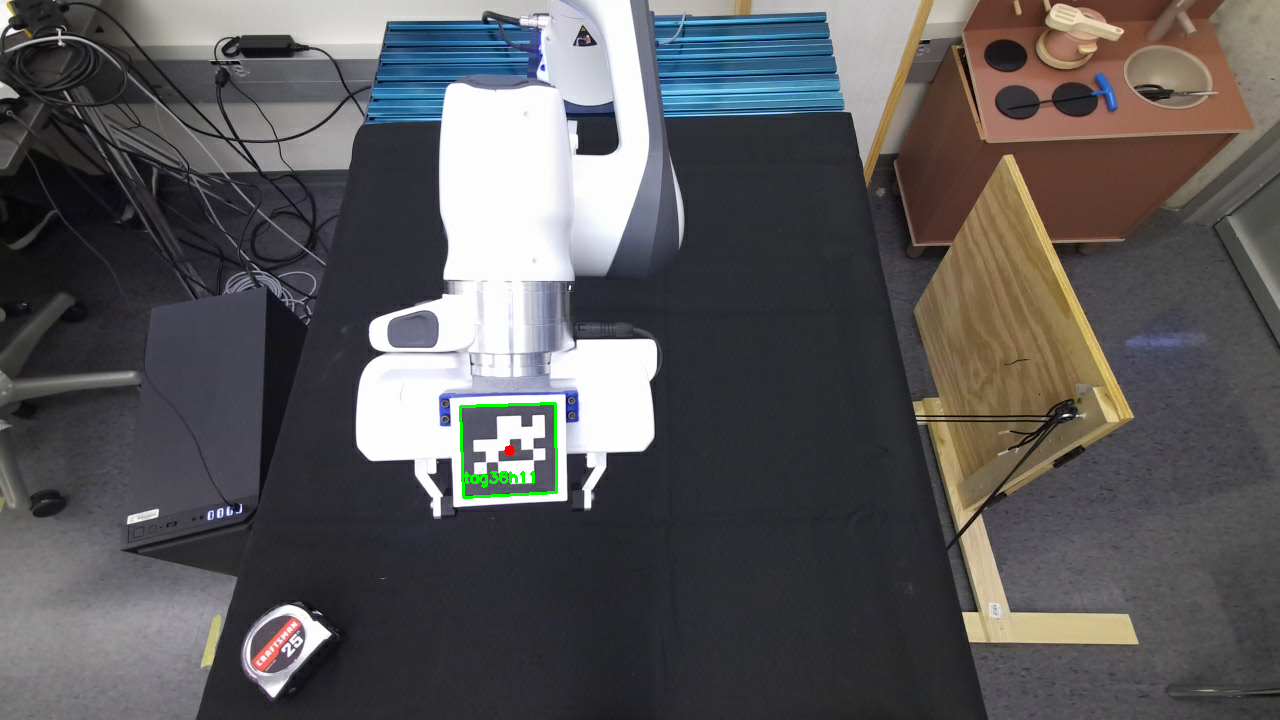
Here is an example of apriltag detection.
Eye-to-Hand Calibration#
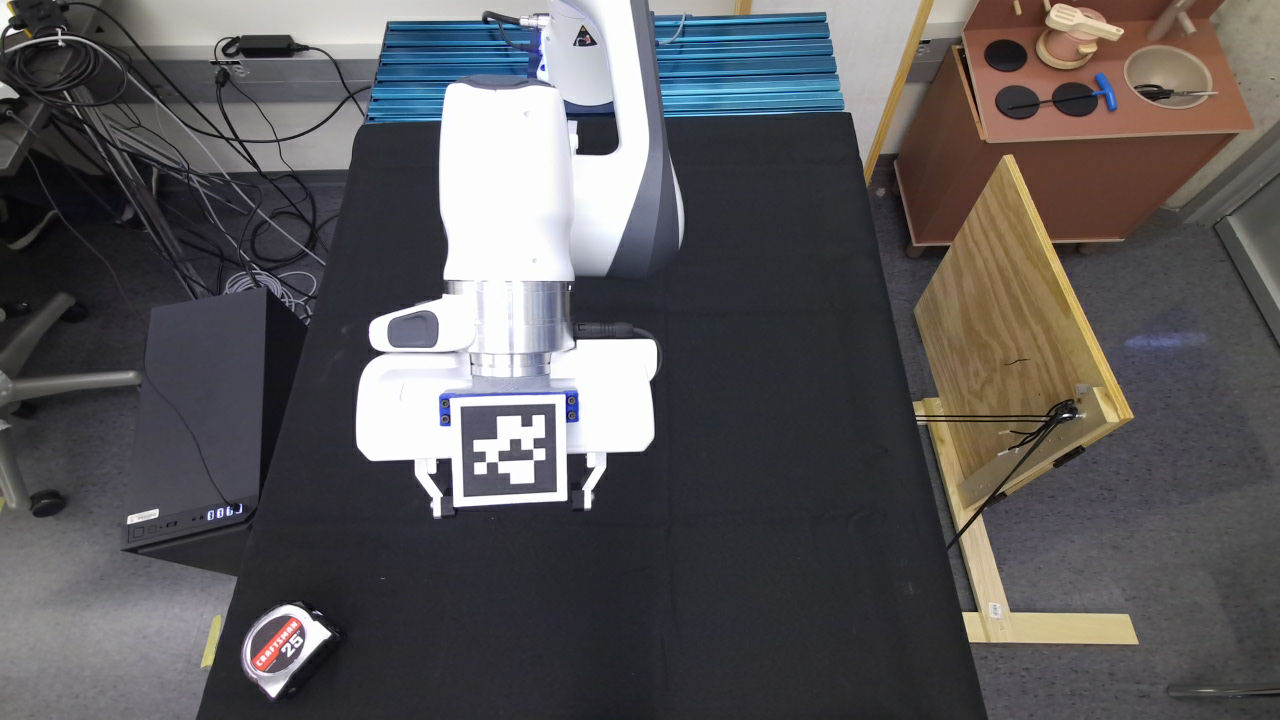
This is to calibrate the fixed-base camera. This assumes that a marker mount is attached to the robot’s end-effector, and the marker is default to be AprilTag in our lab. In this example, I am using an AprilTag with size of 6cm from the “t36h11” family.
Step 1: Record robot joints
Run the script:
python camera_calibration/record_robot_joints.py
The robot will run with OSC controller, with low-impedance value. In that case, it’s easy to move the arm around and record the desired joint values. For recording, press the grasping button of SpaceMouse. When you want to finish the process, press the other button of SpaceMouse which will terminate the process and let you decide 1) whether or not save the recorded joints, and 2) specify the file name to record the joints.
In order to see which joints are good for detecting tags, we suggest opening up the visualization of camera:
python scripts/run_camera_node.py --camera-type k4a
                                  --camera-id 0
                                  --no-depth --eval --visualization
Step 2: Replay robot joints and compute the extrinsics (the transformation of camera from the robot base frame).
python camera_calibration/fixed_base_calibration.py
There are two useful options for running this script. One is
--use-saved-images, which will use the previously recorded images
without actually running the robot. Another one is --debug, which
will show some detailed information of the calibration process.
Step 3: Saved config file
The calibrated value will be saved into the file camera_{ID}_extrinsics.json in the default folder ~/.deoxys_vision/calibration.

